
I’ve posted a couple of my Fileteado Porteño pieces, which were individual elements of the traditional paintings. But this week I started an ambitious new project — a whole painting, including the fancy lettering, which I’ve never tried before! Since it will probably take me several lessons to complete it, and since several people were quite interested in the step-by-step post I did recently, I thought I’d do the same with this one, so here goes.
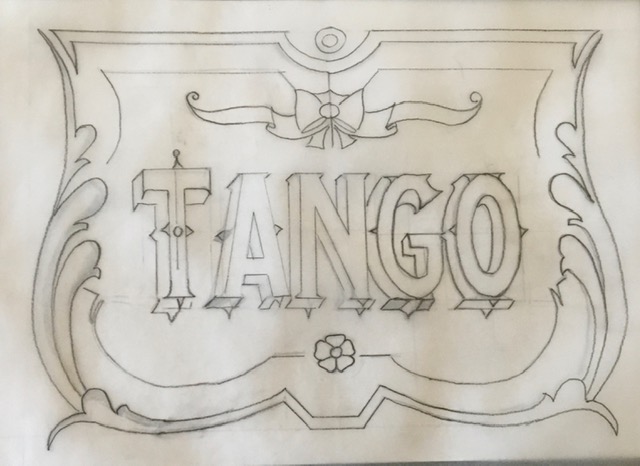
Step 1 – I copied an existing picture onto a sheet of tracing paper. I was allowed to use a ruler for the straight lines, but the overall thing had to be drawn freehand.
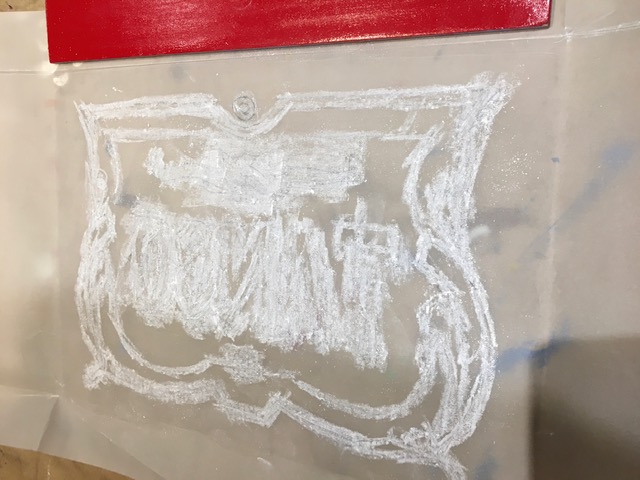
Step 2 – I rubbed the wrong side of the picture all over with white chalk.
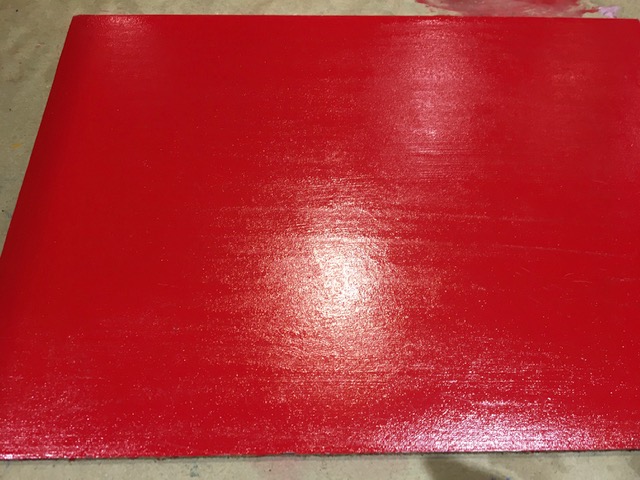
Step 3 – I didn’t do this bit. The teacher painted the wood with special paint, in the colour of my choice.
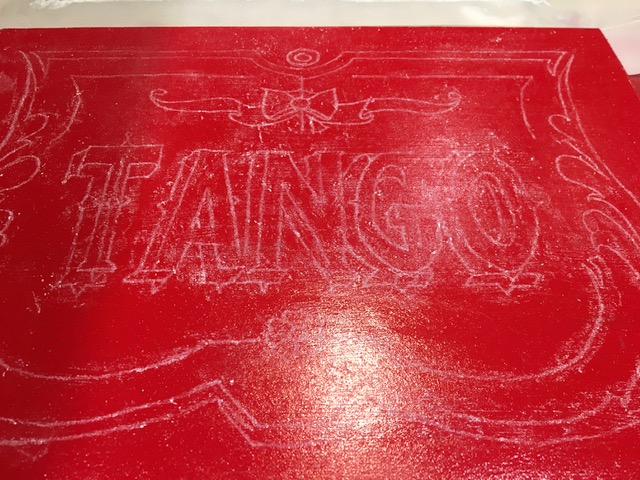
Step 4 – I turned the tracing paper over so that the chalk was on the surface, and drew over the original lines to transfer the chalk to the wood. That’s what will be used as a guide as to where to place the paint.
Step 5 – The teacher decided I should start with the lettering, which was quite a challenge for me. The first stage, same as last time, is simply a flat coat of white paint.
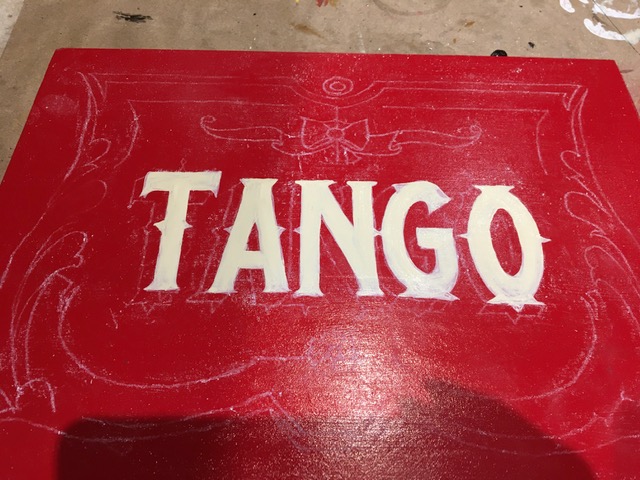
And that’s as far as I got on Friday. I’m looking forward to the next class, when I expect I will finish the lettering. Stay tuned!
Cant wait to see the finished article!
This one will take a while!
I am so glad you are showing us your step by step process! As a fellow painter, I am fascinated by this art form!
More to come!
Catching up. Procrastinating again! You are extremely talented.
Thanks Helen!