Thanks for your kind comments about the Fileteado Porteño piece I posted a couple of weeks ago. People often ask me about the three dimensional aspect of Fileteado, so I thought I’d show you how it’s done. My teacher wanted me to do a second one the same, so this was a good opportunity. This series of photos shows each stage in the process. The new one is always on the left side.
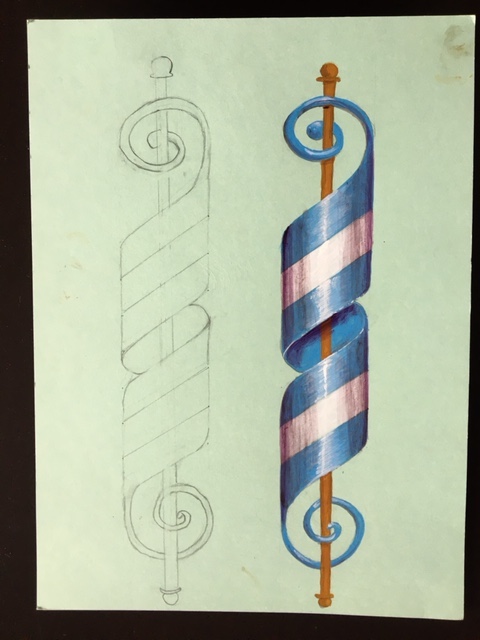
Stage 1: drawing 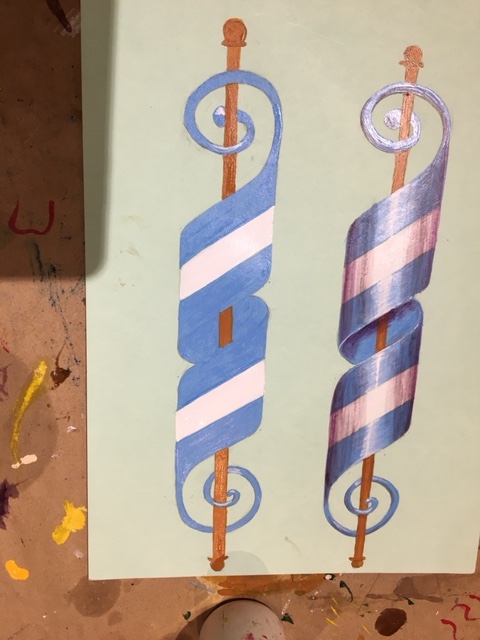
Stage 2: called the “plano“, or flat 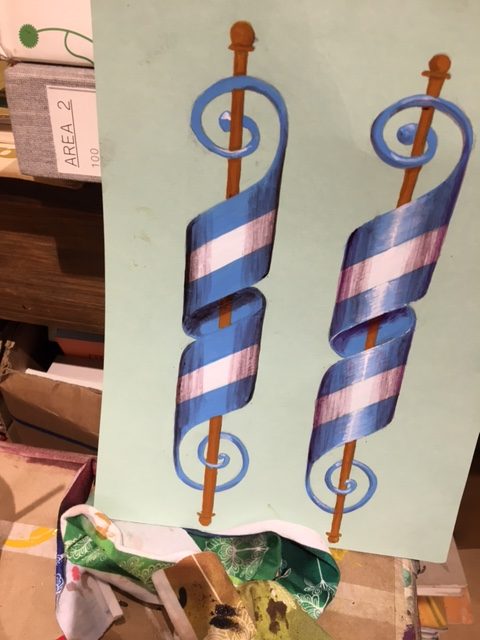
Stage 3: start the shading (see note below) 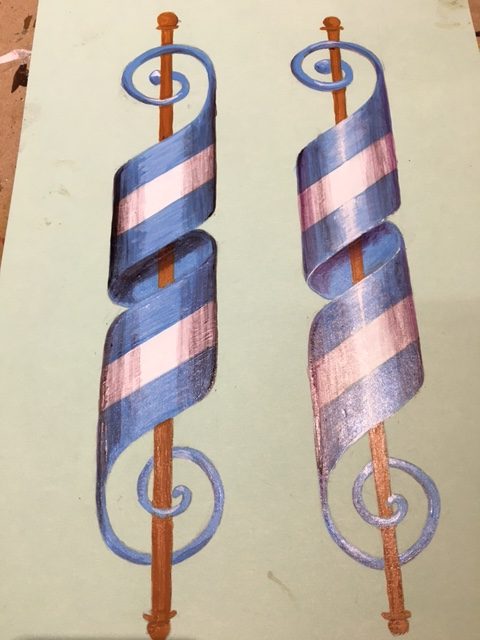
Stage 4: the highlighting begins with a lighter blue 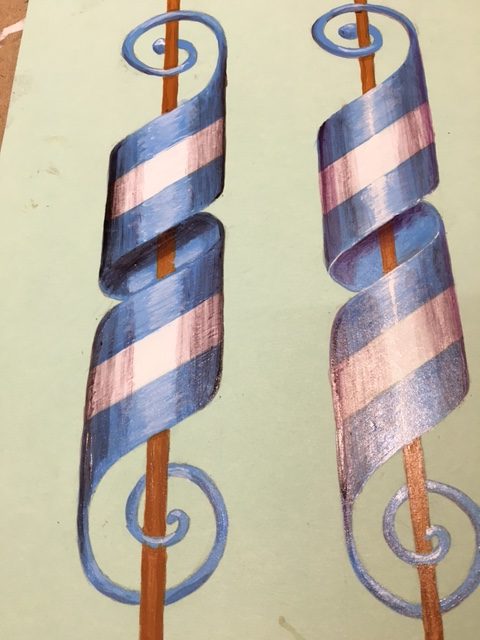
Stage 5: add more white to the blue for an even lighter shade 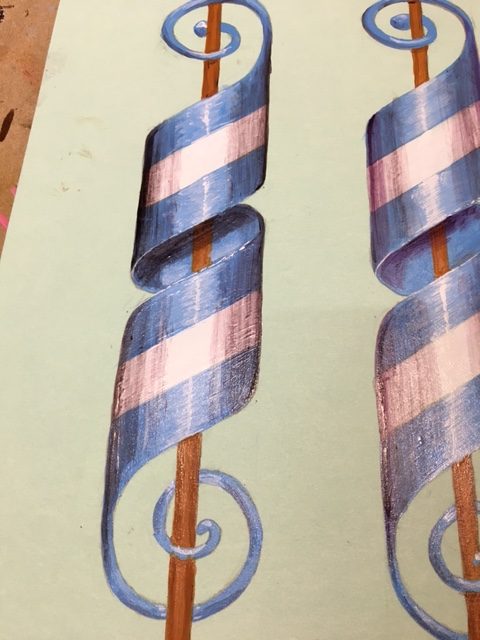
Stage 6: almost pure white for the highlights 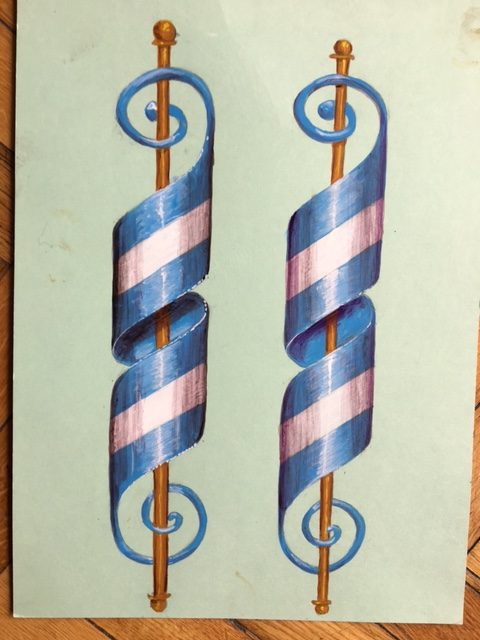
Stage 6: the finished piece. More dots of pure white around the edges of the ribbon and at the top of the curve
The paint is almost the same as acrylic, but it’s a bit more elastic. Getting the right amount on the brush requires some practice. We use special brushes with longer bristles, which hold more paint so you don’t have to stop so often on a line. The idea is to do one complete line with one stroke, except for the shading parts.
The shading, or sombra, is done not with pure paint but with a substance that’s a special type of oil mixed with black and red paint in different amounts for different depths of shade. The mix is called japan — no idea why!
My next project will be a larger piece, on wood and containing several elements. I started the drawing last week and will continue next week. I’ll keep you posted, although this one will definitely take several classes to complete.
Really interesting, how long did it take to complete?
Well it was spread over two classes, so I guess it was about 3-1/2 hours in total.
Only you, would have the patience needed to do this. The finished piece is really beautiful
Honestly, I don’t think I would have the patience if I tried it at home. I need to be in a group setting with a teacher for this.
So beautiful! Love the style! New to me!
Thanks Susan. It’s very finicky, but it gets me in the zone and I love it.
I am so impressed! As a fellow painter, I am especially impressed.
Thanks Sharon – especially nice to get appreciation from a fellow painter!